
Is your faucet acting strange? Maybe the water sprays in different directions or the pressure feels weak. In many homes, the problem is not inside the pipes. It’s usually a clogged faucet aerator. The aerator is the small piece at the end of your faucet spout, and it can collect mineral deposits, sand, and debris over time.
The good news is that you can clean it yourself with just a few simple tools and some distilled white vinegar. It only takes about 10 to 15 minutes. In this guide, you’ll learn how to clean a faucet aerator properly. You’ll also find out what causes clogs, what tools to use, and when it’s time to call a plumber if your faucet still doesn’t work right.
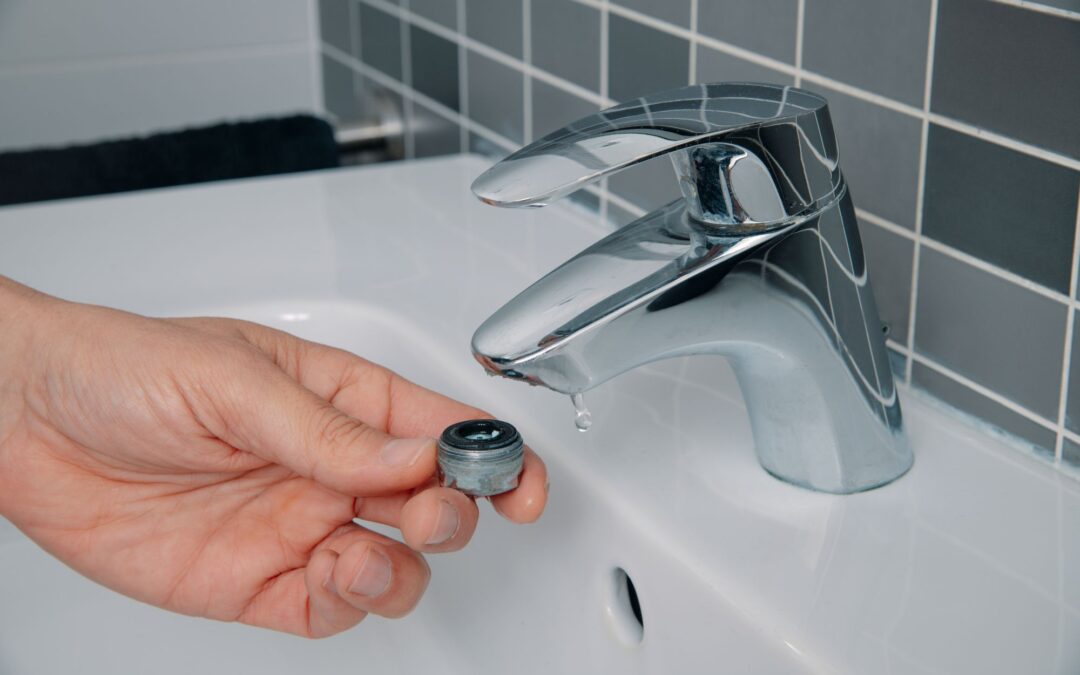
What Is Faucet Aerator and Why Does It Get Clogged
A faucet aerator is a small screen that fits on the end of your faucet. It mixes air with the water so it flows smoothly and doesn’t splash everywhere. It also helps save water while keeping the flow strong.
Over time, the tiny holes in the aerator screen can get clogged. Things like sediment, mineral deposits, and sand from the water lines can block the screen. You might notice the water coming out unevenly or spraying to the side. This is a sign that the aerator needs cleaning.
Tools & Supplies You’ll Need
Before you begin, get these tools and items ready. They make it easier to take the aerator off and clean it the right way.
| Tool/Item | Purpose |
|---|---|
| Distilled white vinegar | For soaking the aerator and removing buildup |
| Small bowl or cup | To hold vinegar and soak the aerator |
| Old toothbrush | To scrub the aerator and remove debris |
| Toothpick or sewing pin | To clear any small blockages in the aerator |
| Pliers or faucet aerator key | To unscrew and remove the aerator |
| Towel or masking tape | To prevent scratches and secure the aerator |
| Soft cloth or rag | To wipe and dry the aerator after cleaning |
| Warm water for rinsing | To rinse the aerator after cleaning |
These tools will help you unscrew, clean, and rinse your aerator without damaging any parts.
Step-by-Step: How to Clean a Faucet Aerator
Here’s how to clean the aerator and get your faucet working like new again.
1. Turn Off the Water and Plug the Drain
Start by turning off the water and placing a stopper or towel in the sink. Some parts of the aerator are very tiny, and you don’t want to lose anything down the drain. Be careful while working, and keep your tools close.
2. Unscrew the Aerator
Look at the end of your faucet spout. Try to unscrew the aerator by turning it counterclockwise. Use your fingers if it’s loose. If it’s stuck, wrap a towel around it and gently turn it with pliers. Don’t squeeze too hard or you might scratch the metal.
Some faucets have hidden or recessed aerators. These may need a special key that fits inside the spout. You can find one at any hardware store.
3. Disassemble the Aerator
After removing the aerator, place it on a towel and gently disassemble the parts. Most aerators have a plastic washer, a screen, and other small rings. Keep the parts in order so you can put them back the same way later.
Look at the screen. If you see deposits or dirt blocking the holes, that’s what’s slowing your water flow.
4. Soak the Parts in Vinegar
Place all the aerator parts in a small bowl filled with distilled white vinegar. Make sure they are fully covered and let them soak for 30 to 60 minutes.
The vinegar helps break down the mineral deposits and remove any stuck debris. For extra cleaning power, you can warm the vinegar a little or add baking soda to it. This helps loosen buildup and makes the scrub step easier.
5. Scrub and Rinse the Aerator
Take the parts out of the vinegar and use an old toothbrush to scrub each piece. Focus on the screen and any tight spots. If the holes are still clogged, use a toothpick or pin to push out the dirt.
After scrubbing, rinse each part with warm water. Also, wipe the threads on the faucet where the aerator screws in. Cleaning the faucet itself helps make a tighter seal when you put the aerator back.
6. Reassemble and Reinstall
Put the aerator parts back together in the same order. Be sure everything is lined up correctly. Then, screw the aerator back onto the faucet spout by hand. Turn it until it’s snug, but don’t overtighten.
Turn on the faucet to check the flow. The water should come out evenly and feel stronger. You may also notice less splash from the faucet.
Pro Tips From the Plumbing Team
Sometimes cleaning is not enough. If your faucet is still having problems, there could be other things going on inside the pipes. Here are signs that it’s time to call a plumber:
- The aerator is stuck and won’t come off
- The screen is torn or won’t stay in place
- The faucet leaks after you put the aerator back
- You see rust, green buildup, or cracked parts
- The water still has low pressure after cleaning
How to Keep Your Aerator Clean
Cleaning your faucet aerator is a good habit. Here are ways to stop clogs before they start:
- Clean it every 4 to 6 months
- If you have hard water, clean it every month
- Flush your faucets after pipe repairs or new work
- Use a water softener to reduce mineral deposits
- Replace old aerators that clog too often
When to Call a Pro
You’ve cleaned the aerator, but the faucet still isn’t working right? It might be time to call a plumber. The problem could be deeper in the plumbing system.
You should call a pro if:
- You can’t unscrew the aerator at all
- There’s leaking after cleaning
- The faucet pressure is still bad
- You see signs of rust or corrosion
- You want to fix the hard water issue once and for all
Conclusion
Cleaning your faucet aerator is a simple task that can make a big difference in how your bathroom or kitchen faucet works. Over time, mineral deposits and buildup can block the tiny holes in the aerator, reducing water flow and causing splashing or uneven pressure. By using basic tools like a brush and distilled white vinegar, you can easily remove debris and restore proper flow. Regular cleaning not only improves the effectiveness of your faucet but also helps prevent future clogs. Keep a log or set a reminder every few months to check and clean your aerators for smoother, cleaner water use.
At Goldberg Plumbing, we help homeowners across Northern New Jersey keep their faucets running smoothly by tackling the root causes of low water pressure, like clogged aerators and mineral deposits. Whether you need help with bathroom faucet repairs, water quality testing, or a long-term solution like a water softener, our licensed plumbers are ready to help. We use proven methods to remove debris, improve fixture effectiveness, and extend the life of your plumbing system. Don’t wait for a small clog to become a big problem. Contact us today to schedule your faucet inspection or water treatment service.
FAQs
What is the best way to clean a faucet aerator?
The best way is to take the aerator off the faucet. Then, take it apart and soak all the pieces in white vinegar for 30 to 60 minutes. After that, scrub gently with a toothbrush and rinse everything with warm water before putting it back on.
Can you clean a faucet aerator without removing it?
Yes, you can. Fill a small plastic bag with vinegar and wrap it around the faucet tip. Hold it in place with a rubber band. Let it sit for an hour. This helps loosen the dirt, but removing the aerator gives better results.
How often should I clean faucet aerators?
Most people should clean them every 4 to 6 months. If you live in a place with hard water or old pipes, clean them more often. Some people do it once a month.
How do you remove the aerator from a faucet?
Try to twist it off by hand. Turn it left to loosen. If it won’t move, use pliers with a towel to protect the metal. Some faucets have hidden aerators that need a special key, which you can buy at a hardware store.