
When temperatures drop below freezing, your home’s plumbing can be at serious risk. Frozen pipes are a common winter problem, and if not handled quickly, they can burst and cause major water damage and costly repairs.
Knowing what to do if pipes freeze can help you avoid a disaster. With a little knowledge and quick action, you can often catch and fix frozen pipes before they become a bigger issue. This simple guide will walk you through what to look for, how to thaw pipes safely, and when it’s time to call a professional.
Why Do Pipes Freeze?
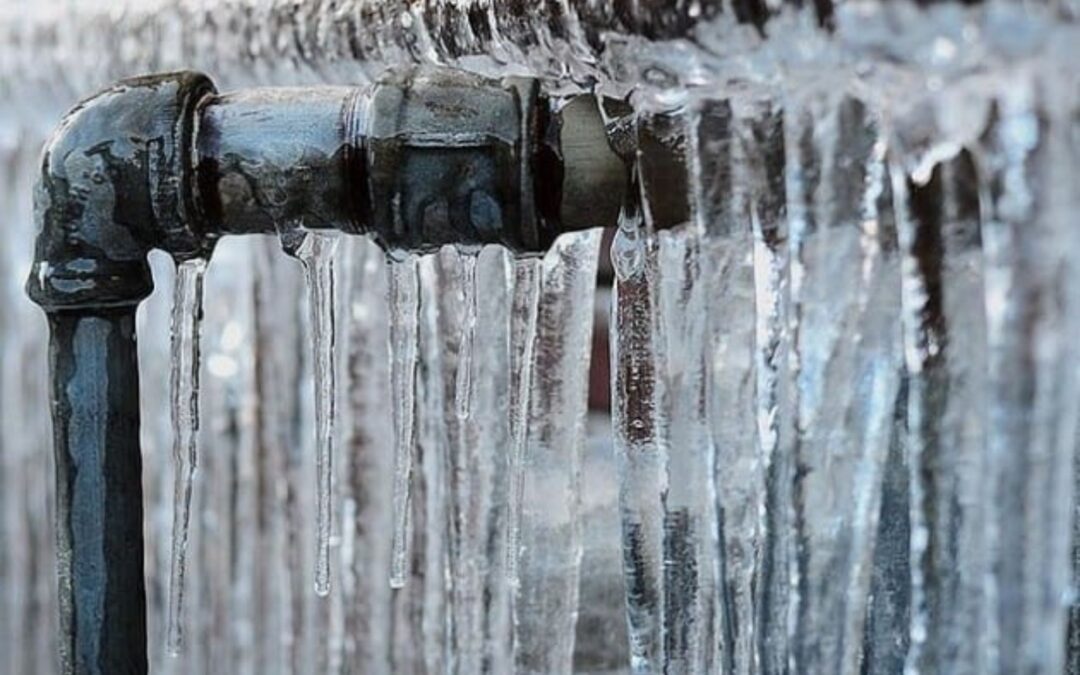
Pipes face the greatest risk of freezing when temperatures drop below 20°F, especially in drafty areas or unheated spaces like crawl spaces and attics. Wind chill can make things worse by pulling heat away from exposed pipes more quickly. Water freezes and expands, which puts pressure on the pipe walls, especially when the water inside has nowhere to go. Water supply pipes along exterior walls are particularly vulnerable as they’re closer to the cold and often lack insulation.
What to Do When Pipes Freeze: Step-by-Step Guide
If you discover frozen pipes, act quickly but safely. Here’s exactly what to do:
Step 1: Shut Off Your Water Supply
Find your main water shut-off valve and turn it off immediately. This prevents flooding if the pipe has already burst or bursts during thawing. If you don’t know where your main shut-off is, it’s typically located where the water line enters your home.
Step 2: Turn On Faucets
Open both hot and cold faucets connected to the frozen pipe. This relieves pressure in the system and allows water to flow once the ice begins to melt. Keep the faucets open during thawing so melted water has a clear path to escape. A steady trickle can also help speed up the thawing process.
Step 3: Locate the Frozen Section
Before you start thawing, inspect the frozen pipe for cracks or breaks. If you see damage, call a licensed plumber immediately rather than attempting to thaw the pipe yourself. Trying to thaw a damaged pipe could lead to a sudden leak or flooding. Always prioritize safety over speed.
Step 4: Check for Damage
Before you start thawing, inspect the frozen pipe for cracks or breaks. If you see damage, call a licensed plumber immediately rather than attempting to thaw the pipe yourself. Trying to thaw a damaged pipe could lead to a sudden leak or flooding. Always prioritize safety over speed.
Step 5: Begin Safe Thawing
If the pipe appears undamaged and you can safely access it, start the thawing process using these approved methods. Use gentle heat sources like a hair dryer, heating pad, or warm towels. Never use an open flame. Thaw from the faucet end toward the frozen section to prevent pressure buildup.
Safe Ways to Thaw Frozen Pipes
Never use an open flame, torch, or any device with an open flame to thaw pipes. This creates serious fire hazards and can damage your plumbing. Instead, use these safe methods:
Hair Dryer Method
A hair dryer is one of the safest ways to thaw frozen pipes. Start from the faucet end and work toward the frozen section. Keep the dryer moving to avoid overheating any one spot. Make sure the area is dry and that you’re not standing in water while using the dryer.
Space Heater
Place a space heater in the area with frozen pipes, but keep it away from water and flammable materials. Never leave a space heater unattended. Use it to gradually raise the ambient temperature, which can help thaw pipes over time.
Hot Towels
Soak towels in hot water and wrap them around the frozen pipe section. Replace with fresh hot towels every few minutes as they cool down. This method works well for short, accessible pipe segments.
Heat Lamp
If you have one, a heat lamp can effectively warm the air around frozen pipes. Position it safely away from any combustible materials. Be sure the lamp is stable and focused on the affected area for steady, indirect heat.
The thawing process can take anywhere from 30 minutes to several hours, depending on the length of the frozen section and outdoor temperatures. Be patient and keep checking for leaks as the ice melts.
When Pipes Burst: Emergency Response
If a pipe bursts, you need to act immediately to minimize water damage:
- Shut off electricity to the affected area if there’s standing water
- Turn off your main water supply if you haven’t already
- Remove standing water using buckets, mops, or a wet vacuum
- Move furniture and belongings away from the flooded area
- Call a licensed plumber for emergency repairs
Document the damage with photos for insurance purposes, but your first priority is stopping the water flow and protecting your property.
How to Prevent Pipes From Freezing
Prevention is always better than dealing with frozen pipes. Here are the most effective ways to prevent pipes from freezing:
- Keep Your Home Warm: Set your thermostat to at least 55°F, even when you’re away, to keep warm air circulating around pipes.
- Add Insulation: Use foam sleeves or fiberglass insulation on exposed pipes in crawl spaces, attics, and basements.
- Seal Air Leaks: Seal cracks around windows, doors, and pipe entry points to block cold drafts that can freeze pipes.
- Open Kitchen and Bathroom Cabinets: Let warm air reach pipes by keeping cabinet doors open under sinks during extreme cold.
- Let Faucets Drip: Allow a small trickle of water to flow from faucets to prevent pipes from freezing.
- Disconnect Outdoor Faucets: Turn off and drain outdoor faucets to stop ice from forming and damaging indoor pipes.
When to Call a Professional Plumber
While some frozen pipe issues can be handled with DIY methods, there are times when it’s best to call a professional. If you can’t locate the frozen section, see visible cracks, or have multiple frozen pipes, expert help is essential. Pipes inside walls or underground, or situations where you’re unsure how to thaw safely, also warrant professional support.
Licensed plumbers have specialized tools like pipe thawing machines and the experience to safely resolve the problem. They can also detect hidden damage that may not be visible, helping prevent future leaks or costly repairs.
Conclusion
Frozen pipes can quickly go from a minor inconvenience to a costly emergency if not handled properly. By acting fast, shutting off your water, and using safe thawing methods, you can often resolve the issue without long-term damage. Prevention is key. Insulating exposed pipes, sealing air leaks, and keeping your home warm can greatly reduce your risk. But when in doubt or if you notice any damage, it is always safer to call in a professional.
If you are dealing with frozen pipes or want to prevent them in the future, Goldberg Plumbing is here to help. We proudly serve Northern Westchester and Putnam Counties with fast, reliable emergency plumbing services and winterization solutions to protect your home. Contact us today to get expert support and peace of mind all season long.
FAQs
What do you do if pipes are frozen?
First, shut off your main water supply immediately, then open faucets connected to the frozen pipe to relieve pressure. Use safe heating methods like a hair dryer or space heater to gradually thaw the pipe, starting from the faucet end.
Will frozen pipes unfreeze on their own?
Yes, frozen pipes will eventually thaw naturally when temperatures rise, but waiting isn’t recommended since frozen pipes can burst at any time. It’s much safer to actively thaw them using approved methods to prevent costly water damage.
Should you turn off the water when pipes freeze?
Absolutely – always turn off your main water supply as soon as you discover frozen pipes. This prevents flooding if the pipe has already cracked or burst during the thawing process.
How long does it take to unfreeze pipes?
Thawing frozen pipes typically takes 30 minutes to 6 hours, depending on the length of the frozen section, outside temperature, and thawing method used. Hair dryers work faster than space heaters, while severely frozen pipes in extreme cold take longer.